Brayherd Escape! – Warhammer : The Old World One-Shot

Over on Unconventional GMs, we’ve just released our actual play of Cubicle 7’s new Warhammer: The Old World RPG – you can also read my first thoughts about the player’s guide here. Below are my notes for the session that I ran on the channel – a run through one of the Grim Portents in the GM’s Guide, using some of the sourcebook material for Talagaad. Check it out – and let me know if you use it!
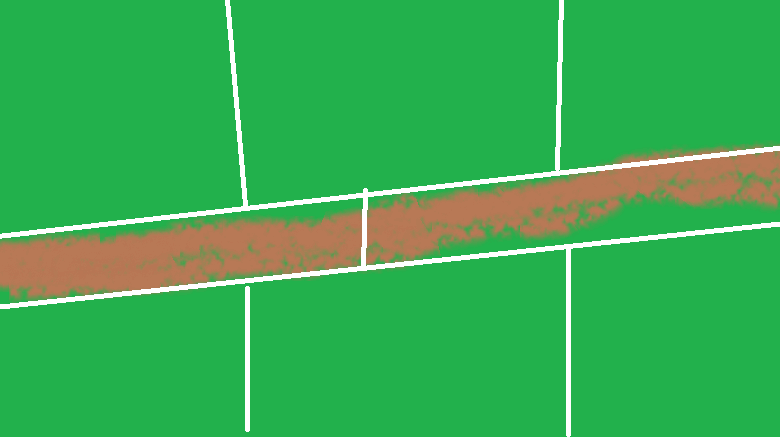
All maps are made by me using MS Paint – I’m sure there are commercial options that you can add some zones to if you want them to look a bit prettier!
While you’re reading this, I should tell you about my Patreon. Patrons get access to content 7 days before they hit this site, the chance to request articles or content, and the chance to play in one-shot games, for a very reasonable backer level of £2 per month. If you like what you read, want to support the blog, and have the funds for it, please consider supporting here. Telling people about the blog, and sharing links/retweeting is much appreciated also – thanks!
Prelude – Awakening
A haze lifts from your eyes, and you regain some sort of consciousness. Through swimming eyes, you feel hungry – and you think you’ve been here for some time. You sit in a roughly-hewn wooden cage in a clearing in the woods – possibly the Drakwald, by the shape of the trees. And all around you, hundreds of beastmen – arguing, bickering, at some time fighting. There are more beastmen here than you thought existed in the Empire, let alone the Drakwald.
Your memory comes back – odd snatches of a capture, and being fed a sweet nectar that made you forget again. You’re hungry – but you remember – maybe they forgot to feed you? Either way, your cell door swings open, as the guards nearby get embroiled in another argument.
We should bide our time – it’s too early for the ritual, that’s what the bray-shaman says
Remember – we need to wait from the signal. We have eyes in Talagaad – wait for the signal, when we can make our move!
The thought of beastmen – or even one – roaming the streets of Talagaad strikes a chill in your bones – and you vaguely recognise your fellow captives…
Scene One – Escape!
To escape the main part of the beastman camp, each PC must make a normal skill check. They can use Lore as needed and either pick which skill or follow the pattern;
- Sneaking past the guards requires Stealth
- Recovering your trappings (kept neatly in a pile next to the cages) requires Dexterity to get into the cages, and/or Stealth to steal a key
- Getting your bearings to navigate out of the warcamp requires Recall
- Crawling through thick bracken for cover is Endurance
- Climbing the trees to get a view of the nearest road is Athletics
Once all PCs have made their rolls, they see the warcamp thin out – and a clearing shows a road, surely leading to civilisation! If they make at least half the rolls, they are aware of the next scene – if they don’t, they are ambushed – they can make an Awareness check to try and notice in time before the Gors and Ungors attack! If they’ve made ¾+ of the rolls, they also notice the Ungors in the forest.
Scene Two – Fight!
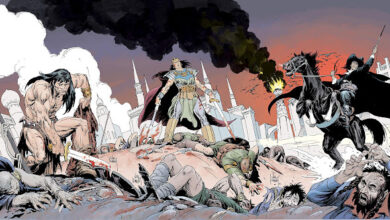
But a pair of Gors snuffle about on it, clearly looking for stragglers – you must fight them!
This battle is with 2 Gors on the road, and 3 Ungors in the forest on thefar side of the road. The forest is difficult terrain.
Scene Three – The Carriage
After they’ve defeated the Gors, they see the approach of a carriage. At the sight of carnage ahead of them, they see it begin to speed up and the look of panic on the driver’s eyes.
At a shout, it will slow, and a red-cheeked, hard face will peer from the carriage.
Luis Grau and his partner Tobi Pickler present themselves as travelling Reiklander merchants who are heading to Talagaad to negotiate trade deals. In truth, they are devout Sigmarite Flagellants sent to Talagaad to report back to Prince Wilhelm’s men on any weaknesses in Talagaad.
Luis Grau, Sigmarite cultist and Reikland spy
Chubby, red-faced, stares too much
Wants to impress his spymasters stats as Sigmarite cultist
Tobi Pickler, Sigmarite flagellant and Reikland spy
Thin, scarred, constantly shivering
Wants to glorify Sigmar’s name stats as Flagellant
They are reluctant to pick up stragglers, and even less likely if they look like they’ve just been dragged from a beastman enclave. A successful Charm roll (which the players can aid one another on) will convince them to lift them, otherwise they will have a long walk ahead of them.
As they enter the carriage, allow Awareness rolls – if so, they notice the scars on both of their hands. They will entertain conversation with the characters, asking them how they came to be together. They will steer the conversation towards Talagaad and obviously be very interested if they share the news of a beastman spy in the town – Tobi will start making notes in a notebook which has a sketch of the town on it. If you’re feeling grim, they’ll offer to help on a successful Charm roll – failure means they will betray the PCs at a crucial moment as clearly beastman-touched.
Scene Four – Talagaad
Upon arrival at Talagaad, they now have a chance to stop a coming storm – the need to find a beastman spy somewhere in the town.
The spy is none other than Stench, mentioned in the GM’s Guide, an untidy, quiet man who frequents the Roaring Badger on the south bank of the docks. He is a Bestigor wearing the Skin of Man, who has managed to form a small cult of desperate beggars around him in case of discovery.
They need to investigate this – invite them to choose one of their contacts, and briefly roleplay a scene around this, with an appropriate dice roll. Things they can discover:
- The obvious place would be the Docks, where there’s so much coming and going nobody stays there for long; they should look into the Roaring Badger or the Elven Embassy
- At the Elven Embassy, Eascylla Sereth is keen to hear from them, and will tell them her suspicions – a regular at the Roaring Badger stinks of chaos – more than usual – but she’s never been able to pin any evidence on him.
- The Roaring Badger’s clientele will be taciturn and low – they will share that last week there was some trouble, thieves talking too much, and Stench ripped a man’s arm off. The beggars and dockhands came to his aid, and the town guard let him off
- One contact can provide a Seeing Stone – which can penetrate this illusion. This will reveal Stench as the beastman he is
Each contact or investigation requires an appropriate skill check; all will move the investigation forward, but any failures will get back to Stench. If they get 3 or more failures, the final confrontation will be an ambush by Stench himself.
Scene Five – Confrontation
Tackling Stench in the Roaring Badger is unwise; better to jump him as he leaves or arrives, so as not to cause panic. They can track him to an unmarked alley – however, he’s never far from his supporters.
Alongside Stench, who has stats as a Bestigor, his followers emerge – chaos cultists with the stats of a Footpad. They fight alongside him, and are 5 in number
If they failed 3 or more times in the investigation, this will instead be an ambush – with 3 footpads alongside Stench and 3 more on the rooftops nearby (Athletics to climb up). If things go poorly, Stench will attempt to escape; the ships and docks are Difficult terrain.


